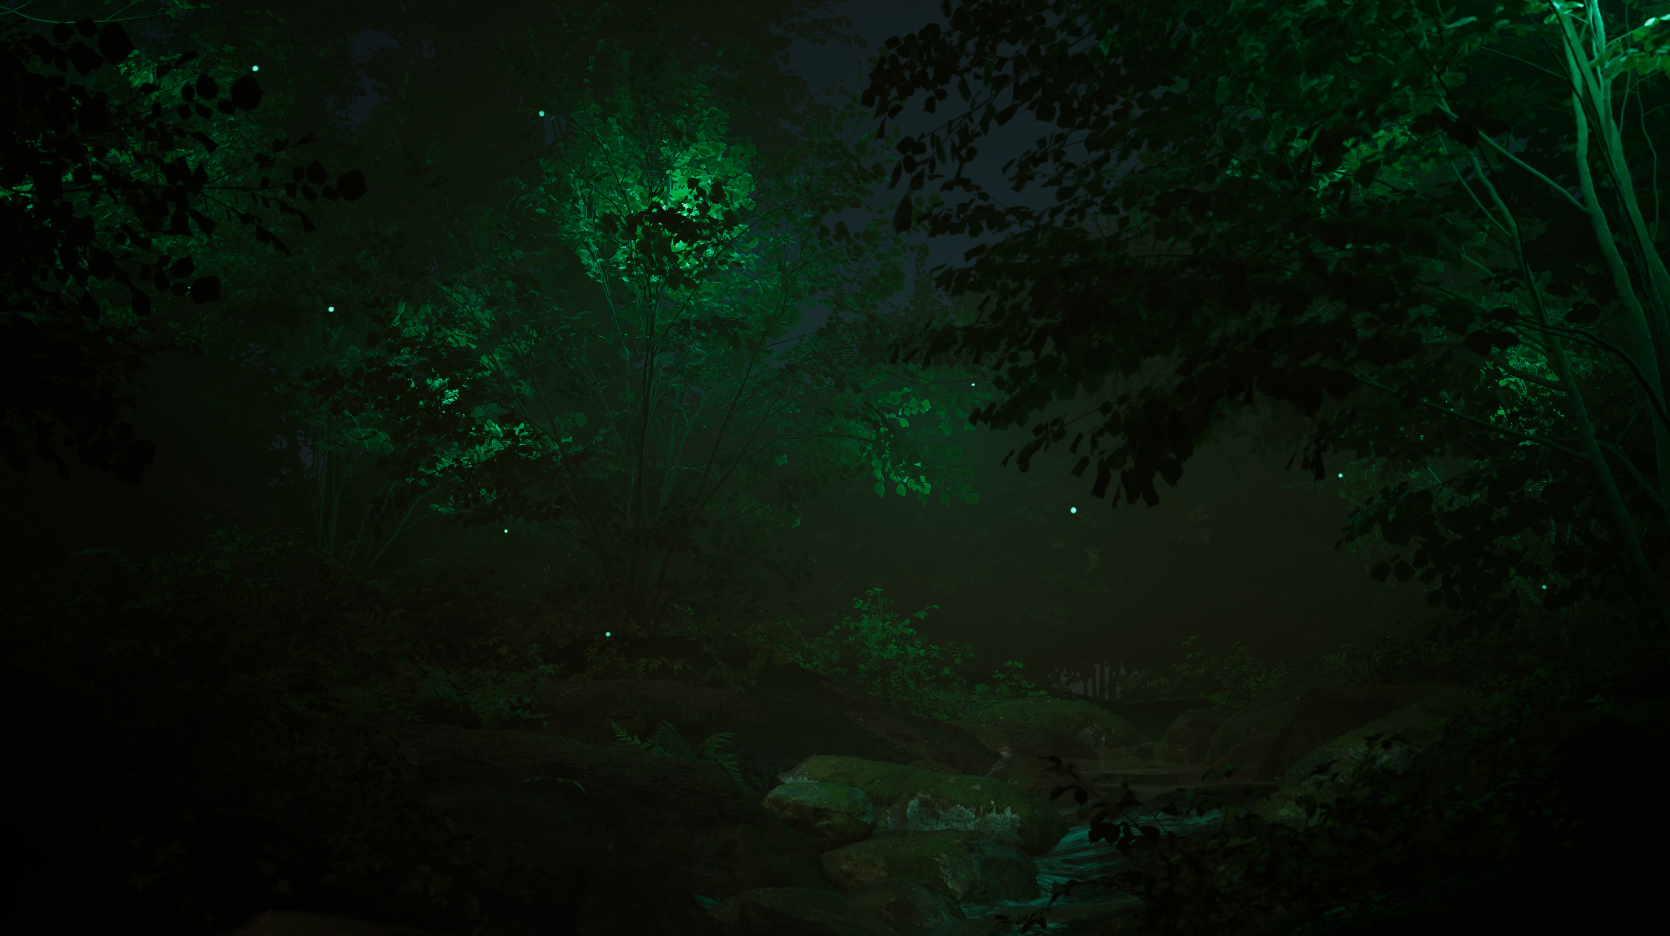
This video was for my second year Animation and VFX project. The idea behind the project was to experiment with lighting in Unreal Engine. It was made mostly using assets from Quixel Bridge and the Unity Asset Store and assembled in Unreal Engine 5.3.
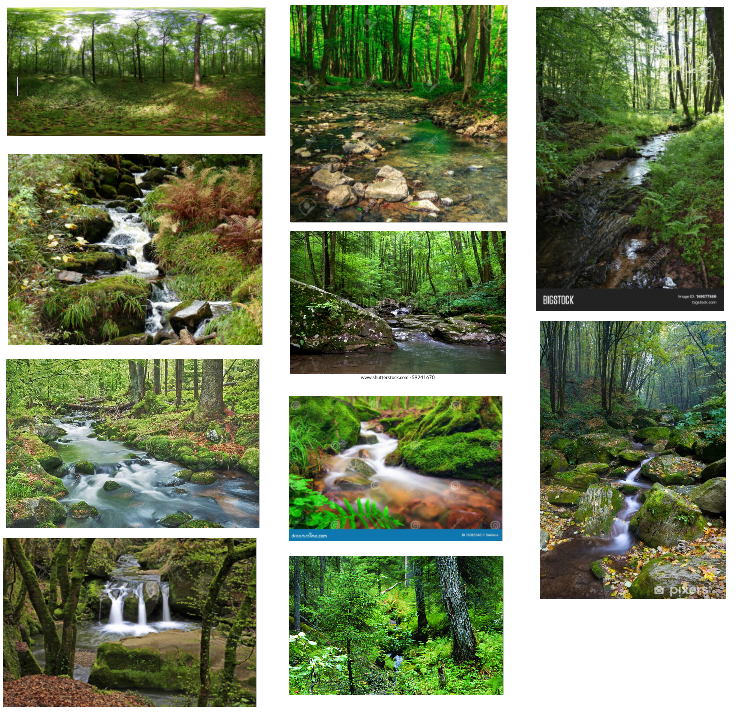
I wanted to create a scene in a forest with a small brook running through it. Early on in my head, I pictured the bamboo forest scene in House of Flying Daggers. I wanted to make a setting that was more familiar to me than a bamboo forest, but I did want to have that lush verdant feel with the nice cinematic depth of field created by the fog and camera’s focal length.

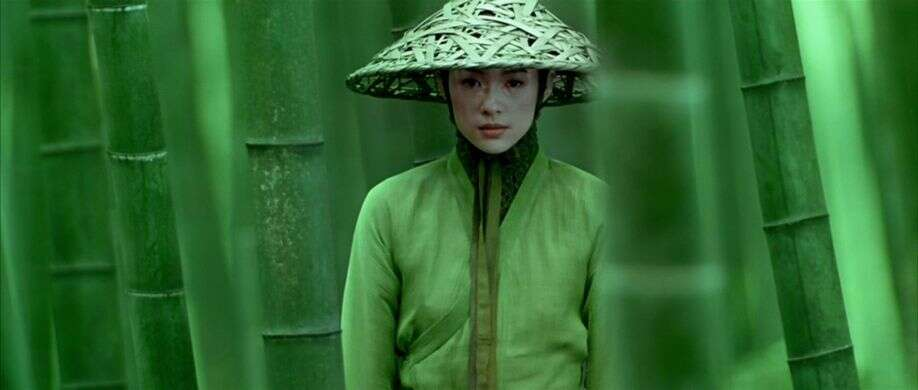
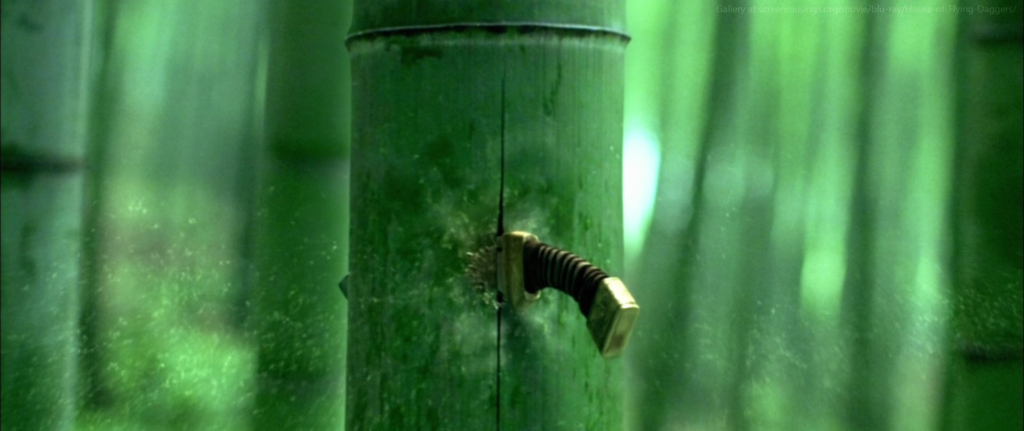
I started by collecting reference images of the kind of scene I wanted to make.
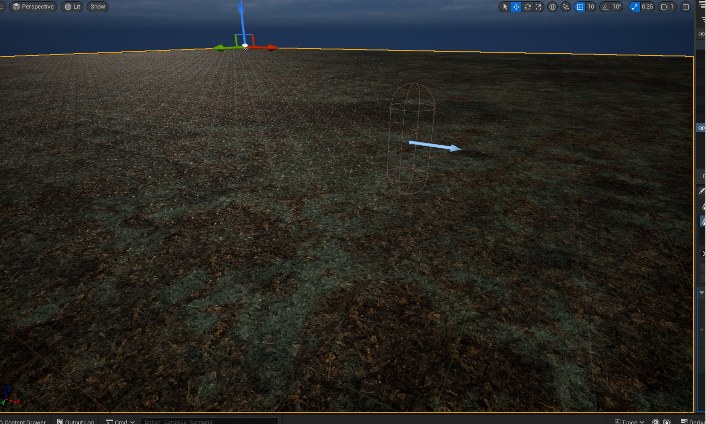
I then created a simple flat plane using Unreal Engine’s environment tools.
Before I started sculpting the terrain, I had an idea in mind for how I wanted the landscape material
to behave. Firstly, I wanted to avoid the appearance of repeating textures. Secondly, I wanted the material to change based on the slope of the environment. Thirdly, I wanted the material to use displacement through nanite instead of simply relying on normal maps to create a 3D effect.
For all these things, I combined the techniques in various videos online into a single material.
This video showed an interesting way of creating a material that adapts to the slope of the
landscape. One of its advantages was being able to easily add other materials to it.
https://www.youtube.com/watch?v=ZzKdy6WoRDI
I then combined this with the techniques in this video to remove the texture repetition by blending several layers of the texture on top of each other at different scales, and changing their opacity based on a noise pattern in a normal map.
https://www.youtube.com/watch?v=zY8AtjM2Jxg
Lastly, for the displacement I had to upgrade from Unreal Engine 5.2 to 5.3. Even then this was very tricky to get working. It would create all kinds of weird artefacts on landscape, or sometimes the landscape wouldn’t render at all.
The was the result of combining these techniques:
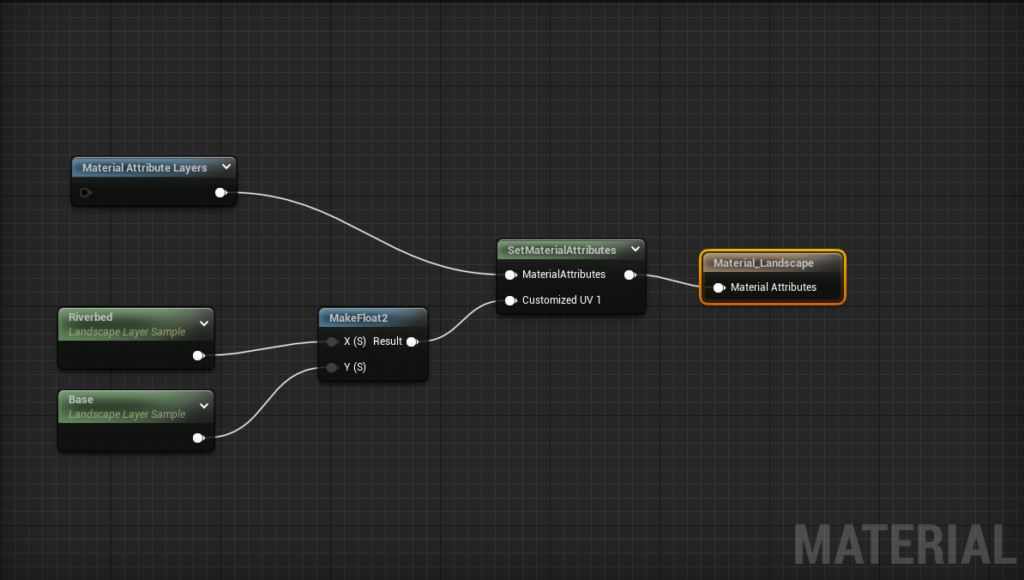
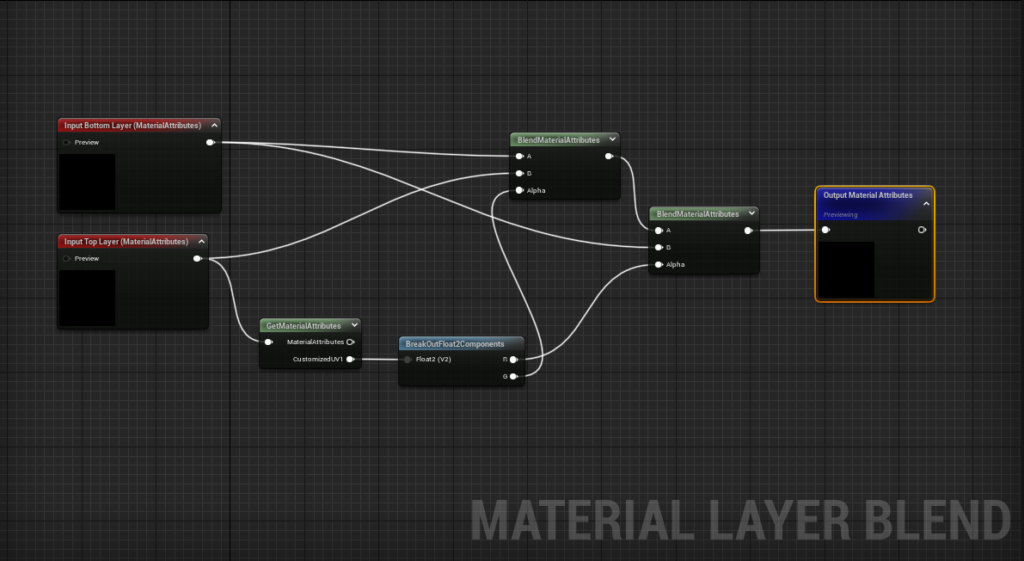
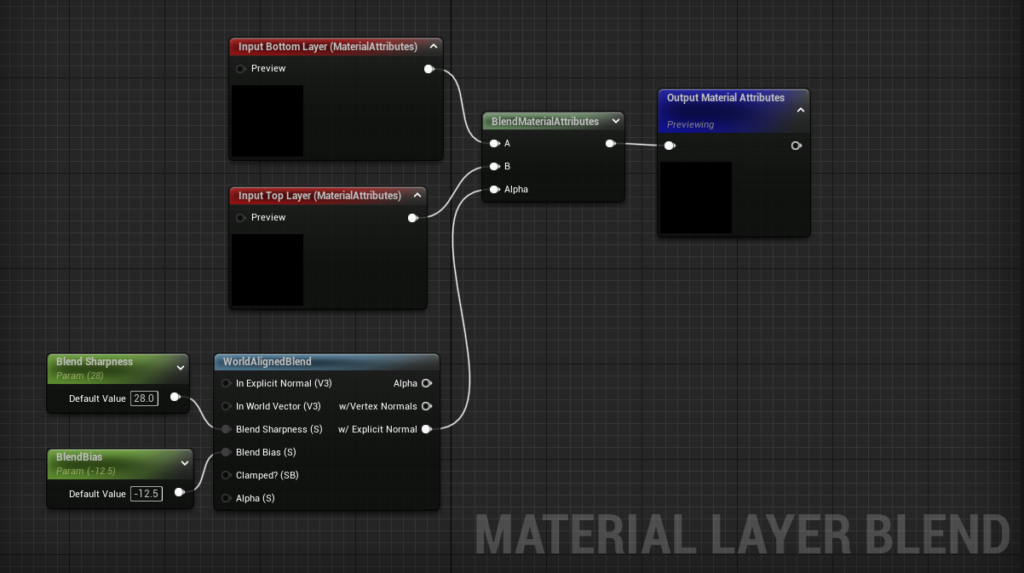
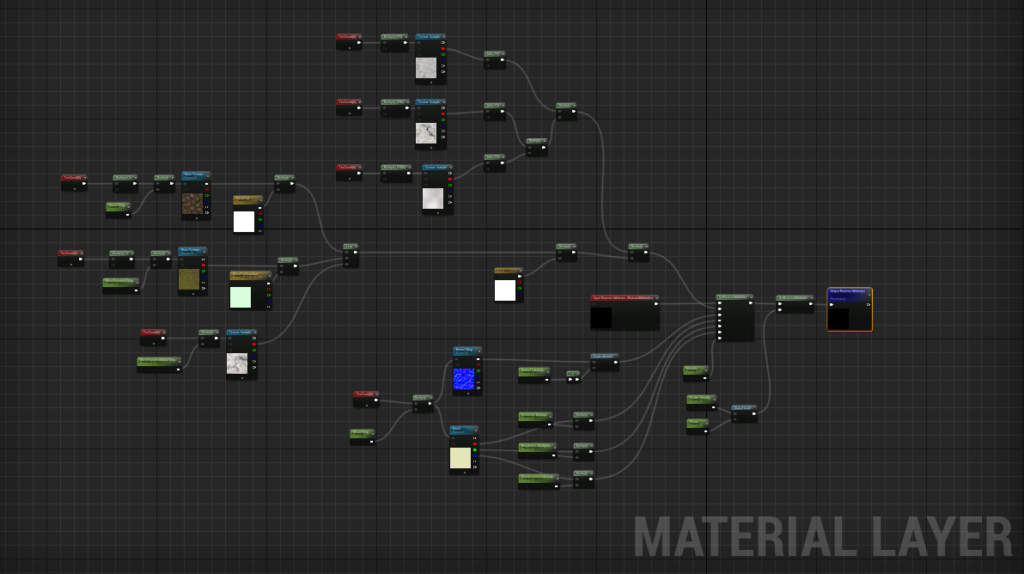
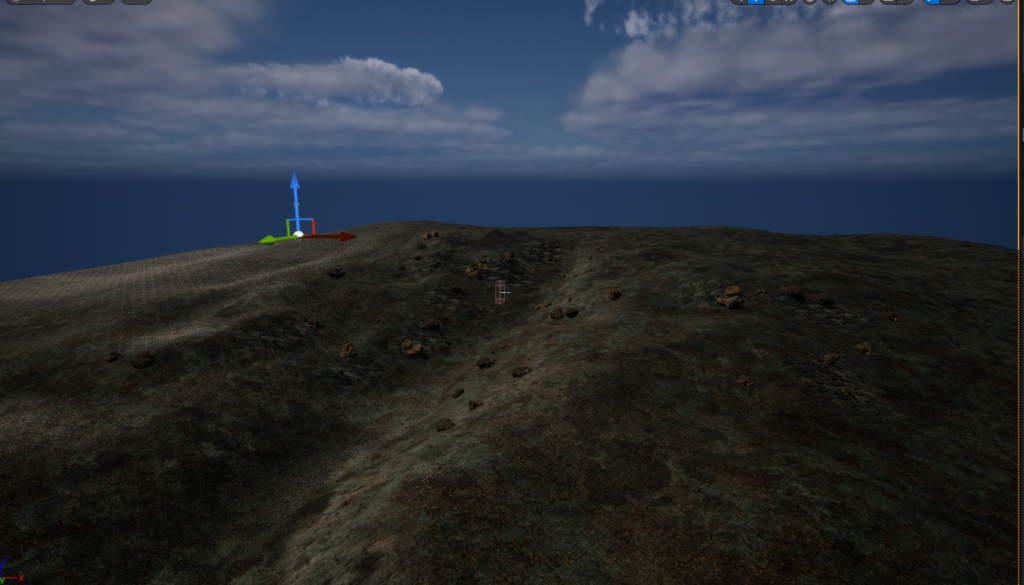
Here you can see the landscape texture changing based on the slope, as well as the blended nonrepeating texture. At one point I was playing with including object scatter within the material itself which automatically places rocks around the landscape. I took this out in the end because I wanted more control over the placement of these objects.
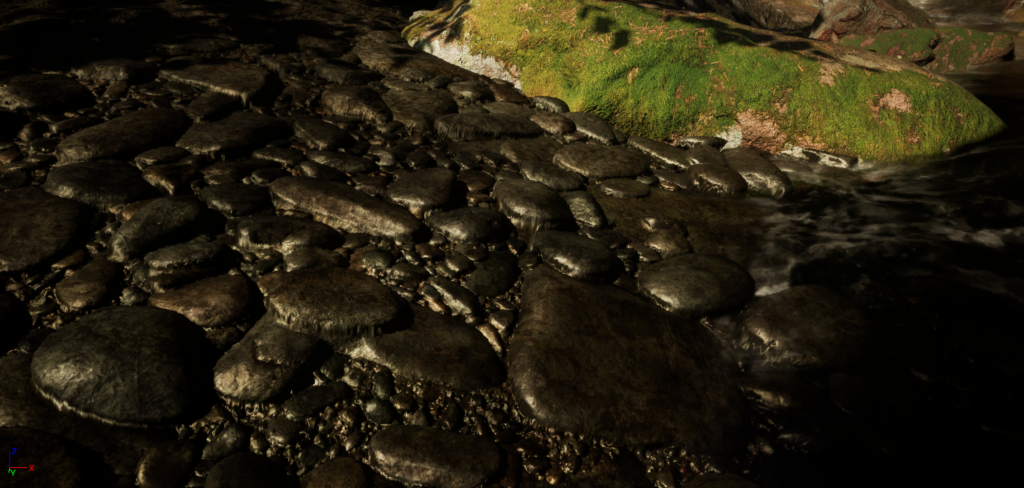
The displacement made a world of difference especially on the pebbles by the brook. I also played with the pebbles’ material to give it a wet look since this material was going to be used around the water.
I began sculpting the terrain, and manually placing rocks, trees, and shrubs where I wanted them in the centre. I could have used the foliage painter, but I wanted full control of the positioning of each element in this part of the map so that I could craft the scene artistically.
I had originally gone for a very small landscape size because I figured it would blend ok into a skysphere, but it didn’t so I rebuilt the project with a moderately sized landscape.
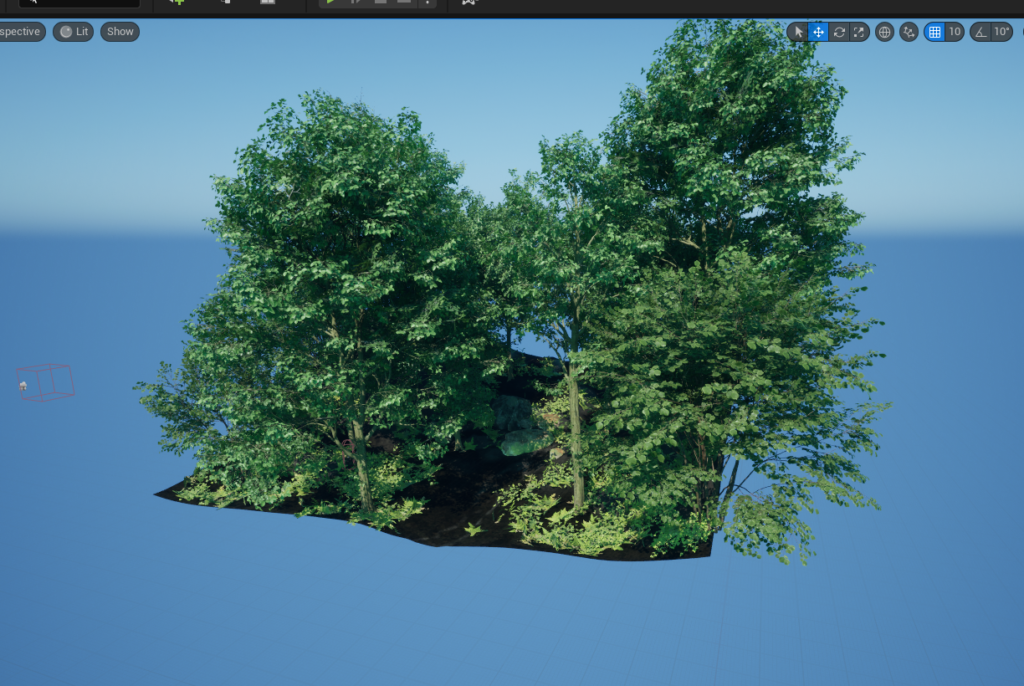
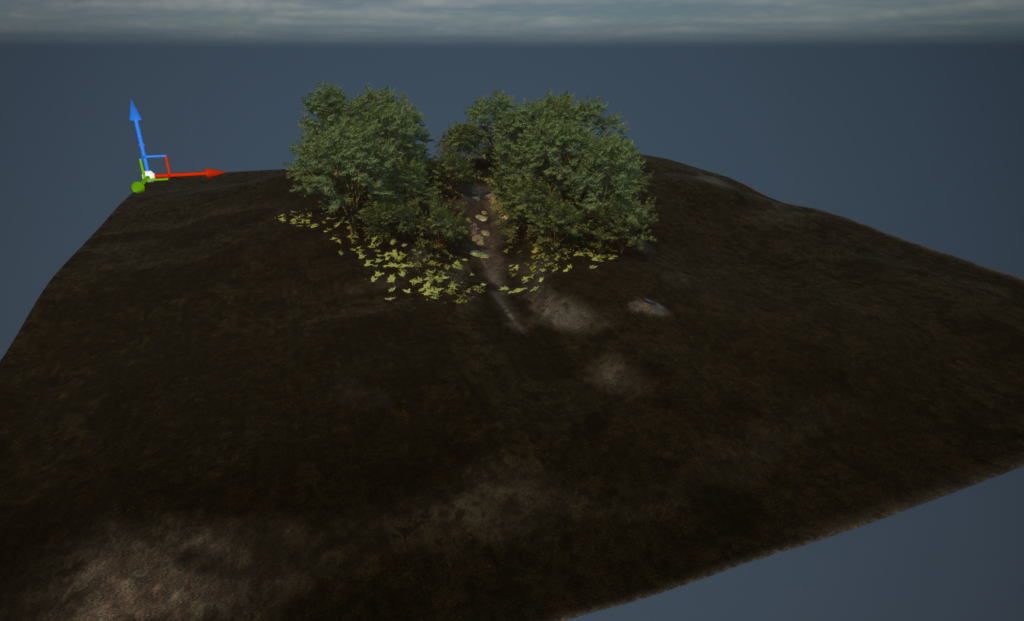
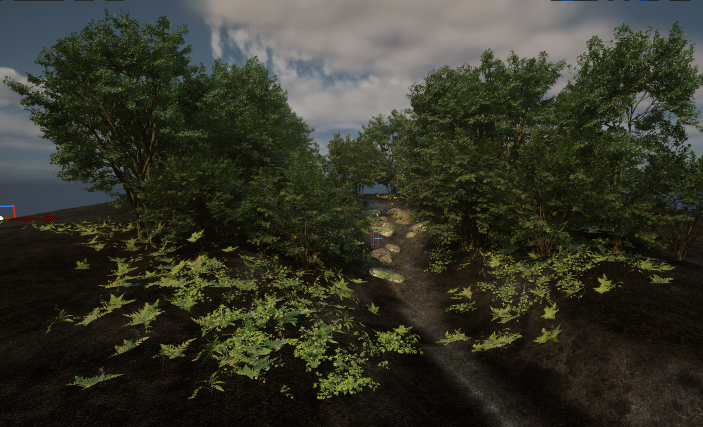
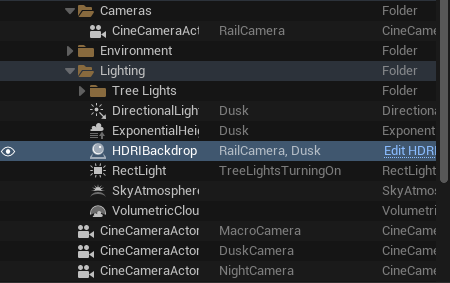
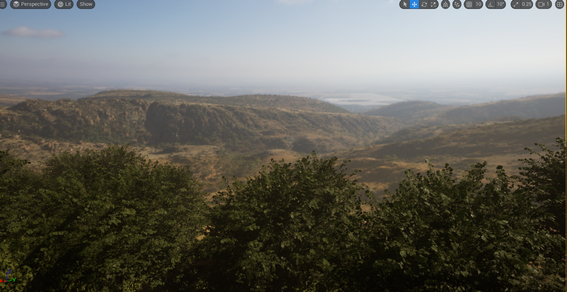
I also brought in Exponential Height Fog, a Skylight and a Skysphere. The image above is an early experiment. I later switched the skylight for an HDRI Backdrop for more realistic ambient light. Additionally, I turned off auto exposure in the scene so I could have full control over that as
well.
For the stream, I tried using my water material from our first assignment. Problem was, I really wanted there to be foam in the rougher parts of the stream. After some failed experiments, I found the rapids material in one of Unreal Engine’s starter packs. This material had animated vertex displacement, which is what I wanted from my original material, and it also allowed for areas to be painted so you could selectively place where the water is more turbulent.
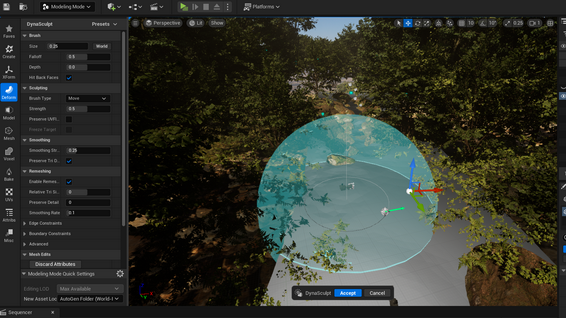
I imported their example from their map into my project, and used the modelling deformation tools to shape it how I wanted.
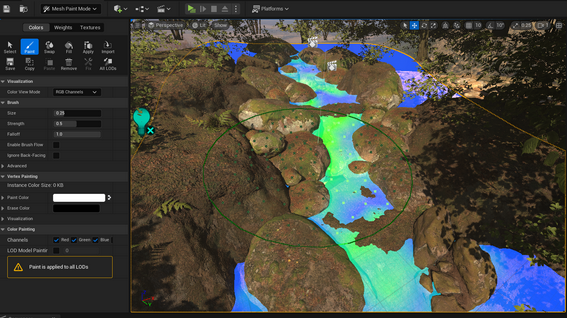
I then used the Mesh Paint tools to select where I wanted the turbulent water to be.
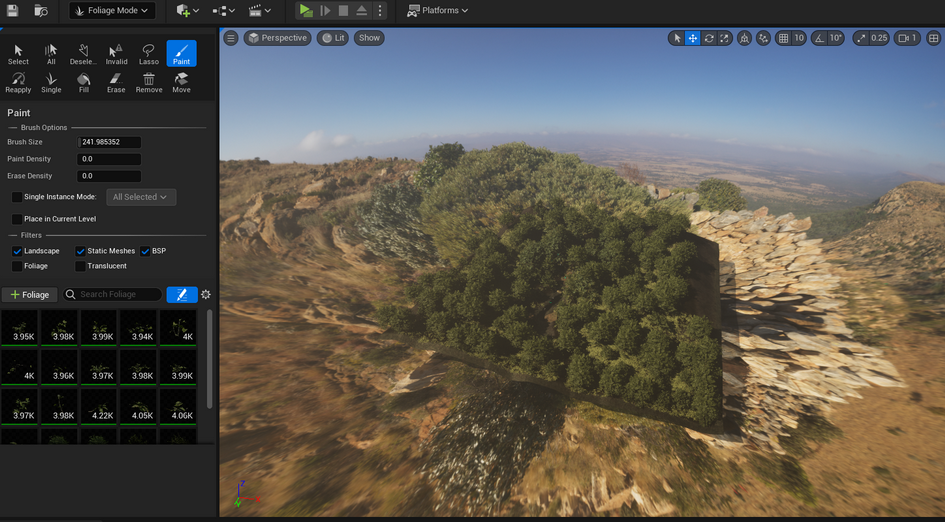
After that, I filled the rest of the scene with trees and shrubs using the Foliage Painter. I later went through the static meshes for each of these objects to remove their LODs because they were popping too much during my cinematics, and I didn’t have to worry too much about performance since this didn’t have to run as a game.
Once the scene was finished, I thought about how I wanted to show it off in cinematics while
meeting all of the criteria for the project.
At Least One Lens Or Camera Effect
I figured the most obvious camera effect to use, based on my inspiration House of Flying Daggers, was to use a focus shift. But what to focus on? Also, this project was about lighting, and it is difficult to do much more with lighting in natural scene than the changes in light during the day and night cycles. I wanted to do something bolder, and I remembered the fireflies we used to have in the places I grew up in Asia. Unfortunately there weren’t any firefly assets on the Unreal store or Quixel Bridge. I did find one on the Unity Asset store, but it was £15 and I had no idea how to import a Unity asset into Unreal Engine. In the end, it was the best model I could find for the price, so I bought it and set out to learn how to get it into Unreal.
First of all, I did have to open the asset in a blank Unity project. This gave me access to the FBX files which I could easily import into Unreal Engine. The first problem I had was that the textures weren’t coming with them.
In the end I had to create a new material and manually plug the texture file into it, which worked! I attached a very small and dim point light to the tip of the abdomen and Googled a hex code for the colour of light a firefly makes.
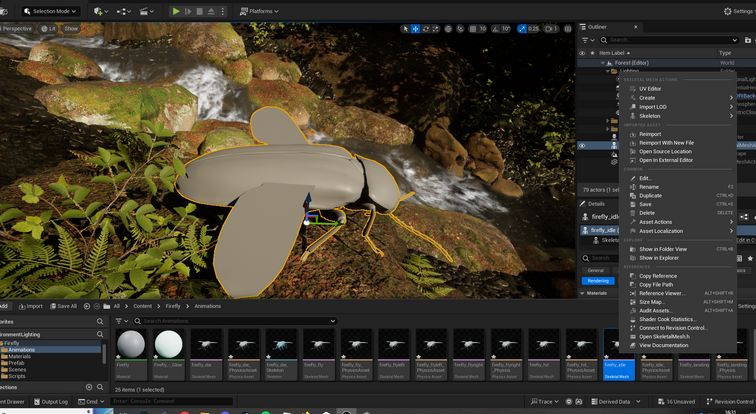
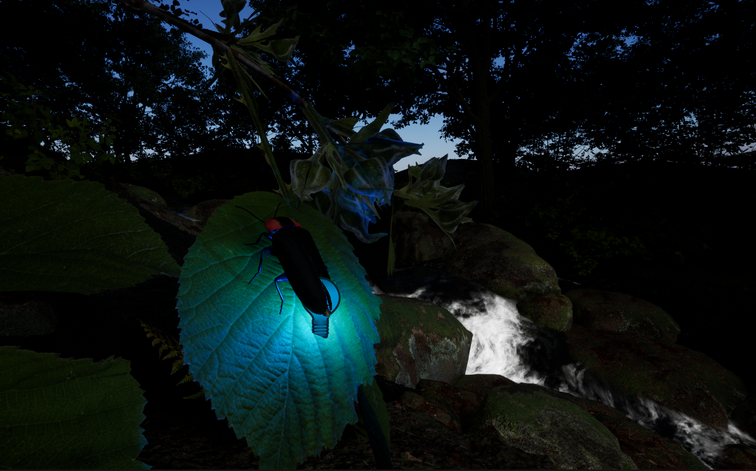
This was the result, though I didn’t like the colour. I chose to use some artistic license and switched for a bolder cyan colour for the final product which gave the scene a more magical feel.
For every shot in the project, I manually controlled the focus, and that is most obvious in the clip where the camera is focused on the water, then focuses on the beetle during the day. I kept the point light intensity off for this clip.
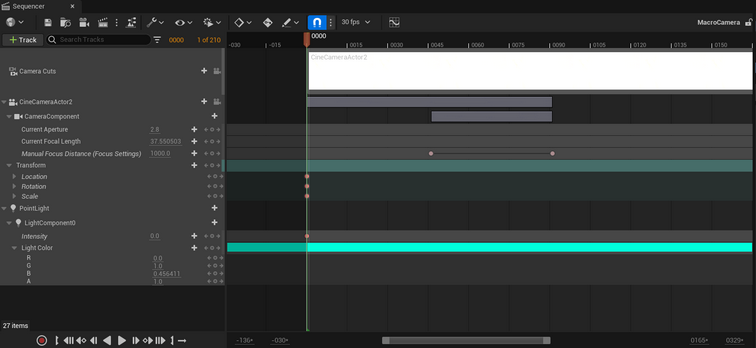
At least one atmospheric, cloud, or world lighting effect.
In the clip where the scene is switching from day to night, I used the sequencer to dim the
directional light, increase the fog density, and darken the HDRI Backdrop. It took a while to figure how to do this. Eventually I figured out I needed to animate two different things within the HDRI backdrop to dim the background image, and dim the lighting effect coming from the HDRI backdrop.

The volumetric light from the fog is very nice in the daytime clips where you can see subtle god rays coming from the trees, and in the night scene the air around the trees glows from the fog being lit by the fireflies. I have bloom turned off in post processing so this was entirely from the volumetric lighting.
Cinematic lighting.
The day scene uses the HDRI Backdrop for its ambient lighting in combination with a directional light.
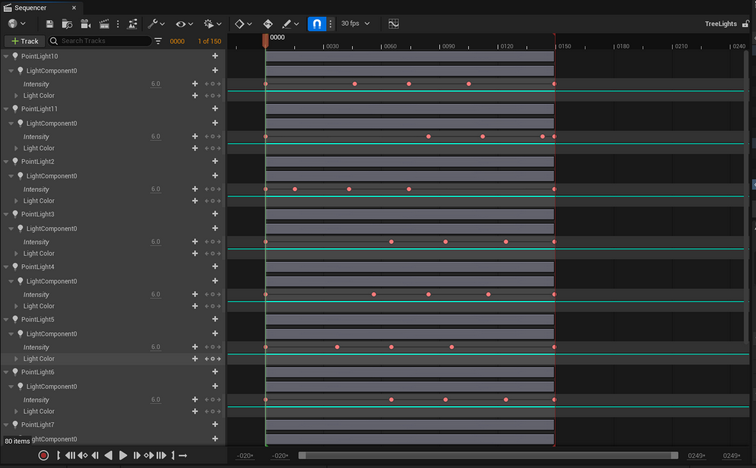
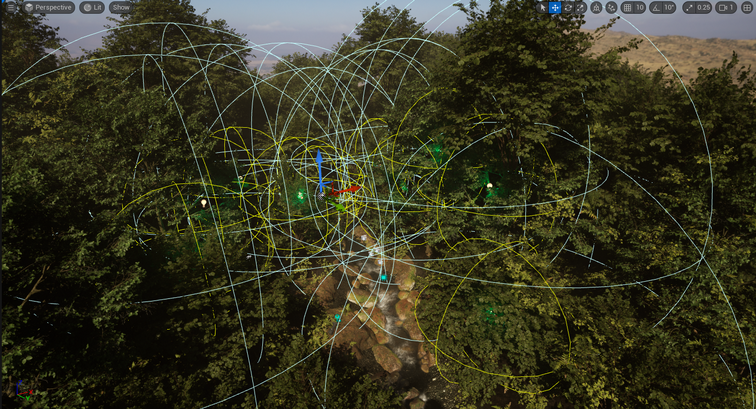
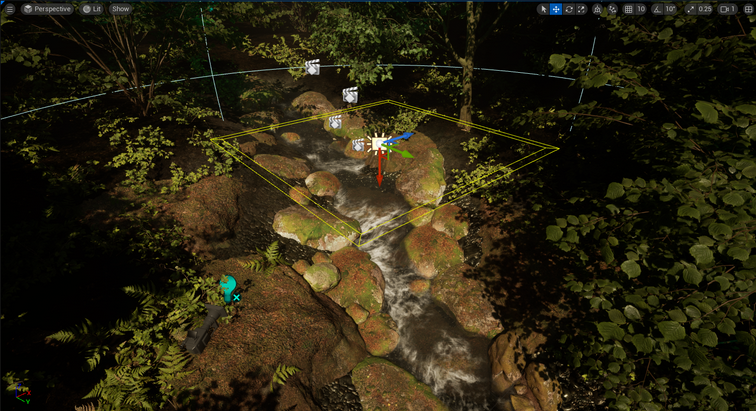
The night scene had point lights scattered throughout the trees which were animated to pulse in waves that simulates the way groups of fireflies coordinate their bioluminescence. Plus I used a large area light in the centre of the scene to slightly light the middle of the shot which helps expose detail and provides a natural vignette.
At least one post processing effect.
Every camera I used had post processing to adjust the exposure for each shot. Additionally, some of the daytime cameras had a subtle vignette added.
At least one of the portfolio effects (created in component 1) imported and integrated into the scene.
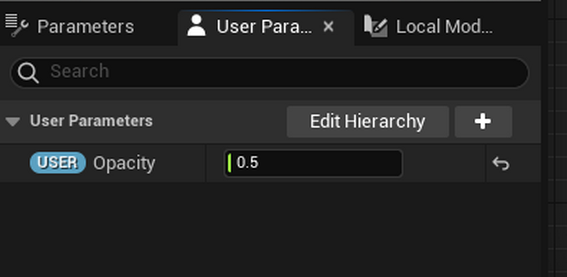
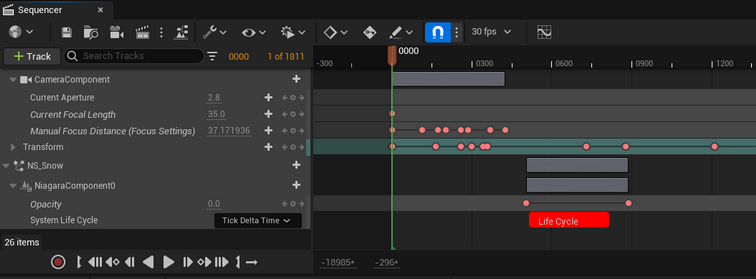
I originally wanted to use my water material, but obviously didn’t in the end. What I did do was import the Niagara snow effect I made and adjusted the colour, size, speed and spawn rate of the particles so that they would resemble fireflies in the final clip. I also added a User Parameter that let me adjust the opacity of all the particles. This let me fade the particles in with the Sequencer when I activated the Niagara System. Previously, all the fireflies just popped into existence which was jarring and took away from the ambience they were meant to add.
Additionally, I used the techniques of blending animations we learnt in the first term to animate the main firefly. I blended the idle animation into two clipped animations of the firefly taking off to make it look like the firefly was warming up its wings before finally taking off and flying into the trees. I intended this to be a use of a lead-in animation prior to take off.
I also animated the transform while the firefly is walking to try and make it look more natural than if it just slid from one position to another.

Use of several cameras (at least one of which must be animated) along with the Sequencer, to present the scene as a sequence of cinematically framed and compositionally beautiful shots.
I used four cameras for the long portfolio version of my project. The video I submitted uses three.
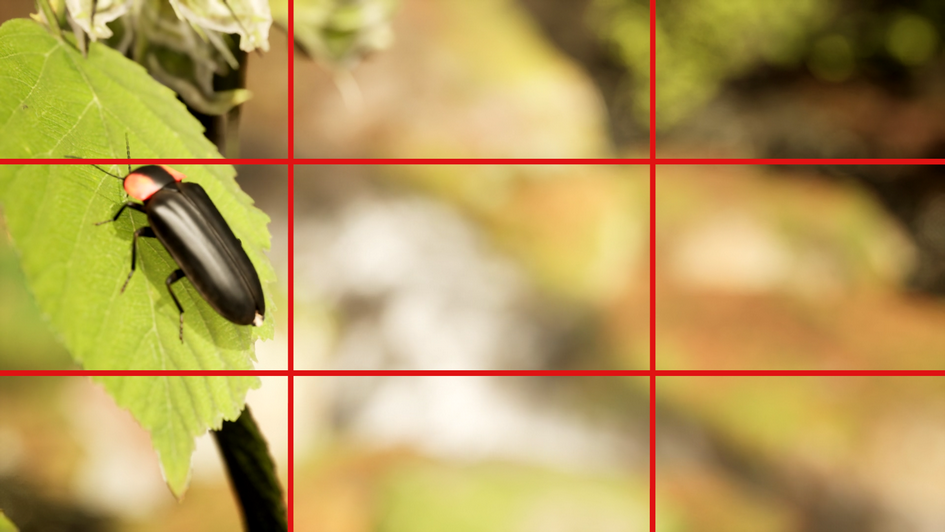
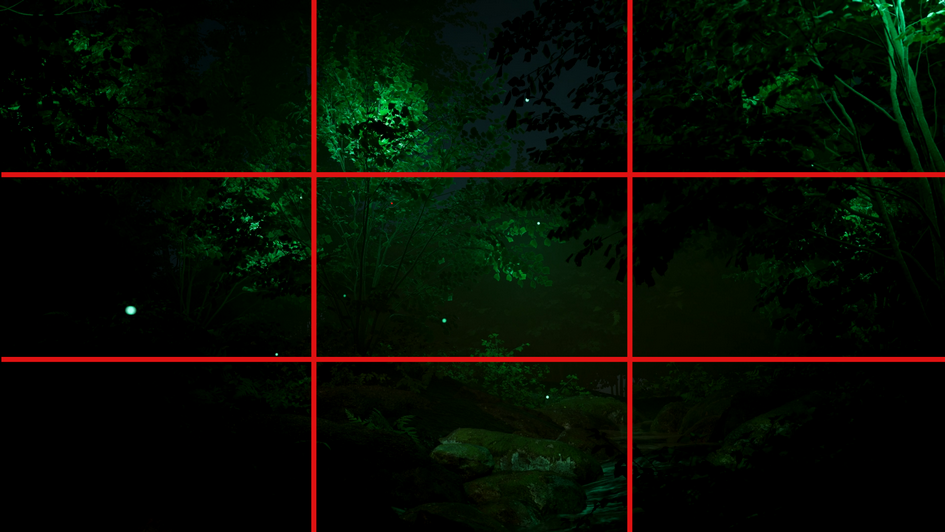
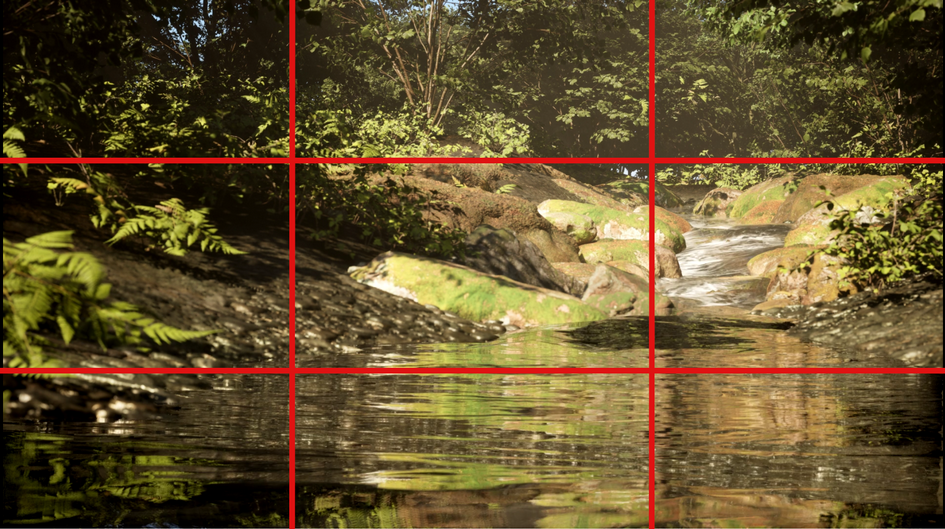
At all times I kept in mind how to shots were framed and tried to follow the rule-of-thirds. I’m
especially happy with how the final shot was framed, with the light in the trees drawing focus slightly off centre, surrounded by the darker edges which created a beautiful visual flow.
Rendering
The video I submitted was rendered entirely by the engine in mp4 format. Additionally, I turned off antialiasing and set the Temporal Sample Count to 32 which was suggested by some tutorials I saw. I can tell this improves the motion blur compared to other versions I rendered, though it took 2 hours to render a 1 minute video and 1080p. I’m tempted to go back to my longer version though that will probably take an entire day to render at 4k.
On the whole, I’m very happy with the final result. I’ve learnt a lot about how Unreal Engine works and had many opportunities to practice what I had learned in earlier projects. The longer version of the video I made will definitely be part of my portfolio.
